Young Living’s glamping beauty school is currently going on this week up here in Idaho and we are only 20 minutes away from the YL farm where it is being held at. My mom is attending, and I went with her one night for all the beauty DIYs they had. And I am so glad I did because this beauty DIY is a life changer! Making your own makeup palette is sooo simple and fun with savvy minerals! 

I love how you can completely customize it with eyeshadows, blushes, bronzers, foundation, and even lipstick. You can even create your own colors. And it’s super easy to do with savvy minerals because its powder makeup, and it’s all natural, so you don’t have to worry about chemicals or the makeup not forming well enough.

I had a lot of fun experimenting with making this pressed palette and I ended up doing two blushes, one bronzer, one lipstick, and several eyeshadows.What’s super awesome about this beauty DIY is that you can put most of your makeup necessities in the palette and use it while traveling for saving space! And it’s way easier to use instead of messy powder. The empty palette I got has magnetic removable pans and a nice big mirror with a cute lettered saying on it. I found the same palette on amazon( I linked to it below), it just doesn’t have the customization.

I hope you enjoy this awesome beauty DIY and try it out!
MATERIALS NEEDED:
- Empty palette- This is the non-customized version of the one I have
- Savvy minerals of choice or savvy minerals lipstick (to learn more about savvy minerals click HERE)
- Candle and spoon if doing lipstick
- Popsicle sticks or small plastic spatulas
- Young Living ART Refreshing Toner in a small dropper bottle
- Paper towels
- Quarter
DIRECTIONS FOR EYESHADOW:
- Take the plastic insert out of the eyeshadow container using your nails, a popsicle stick, or a butter knife- be careful, it plumes!
- Add about 30 drops of ART toner in the eyeshadow and gently mix until it has the consistency of mud.

3. Scoop out the mixture into the eyeshadow pan and gently spread into it. Place a small piece of paper towel on it and put a quarter over it and gently press on it. Remove the paper towel and quarter and place pan in eyeshadow palette. Don’t touch it- it’s wet. It should look something like this:

Let it dry for about two hours. And that’s it for the eyeshadow!
DIRECTIONS FOR BLUSH, BRONZER AND FOUNDATION:
- Take out the plastic insert from inside the makeup container and scoop out a nice teaspoon or so and put into a small bowl.
- Add the toner, until the consistency is like mud and spreadable. You made need to add a little more powder and toner if it’s not enough to fill the pan.
- Spread it into the eyeshadow pan and place a small piece of a paper towel over it and a quarter over that. Press down gently and then remove.
- Place in palette and let it dry.

DIRECTIONS FOR LIPSTICK:
- Light the candle and scrape the top part off of the lipstick.
- Put it in the spoon and hold over the candle, mixing with a popsicle stick until melted.
- Pour into a eyeshadow pan and let it cool and harden.

Place all your eyeshadow pans into the palette and let everything dry and harden- about two hours. Enjoy!

If you enjoyed this article follow Hope Leilani on her blog at hopeleilani.com.
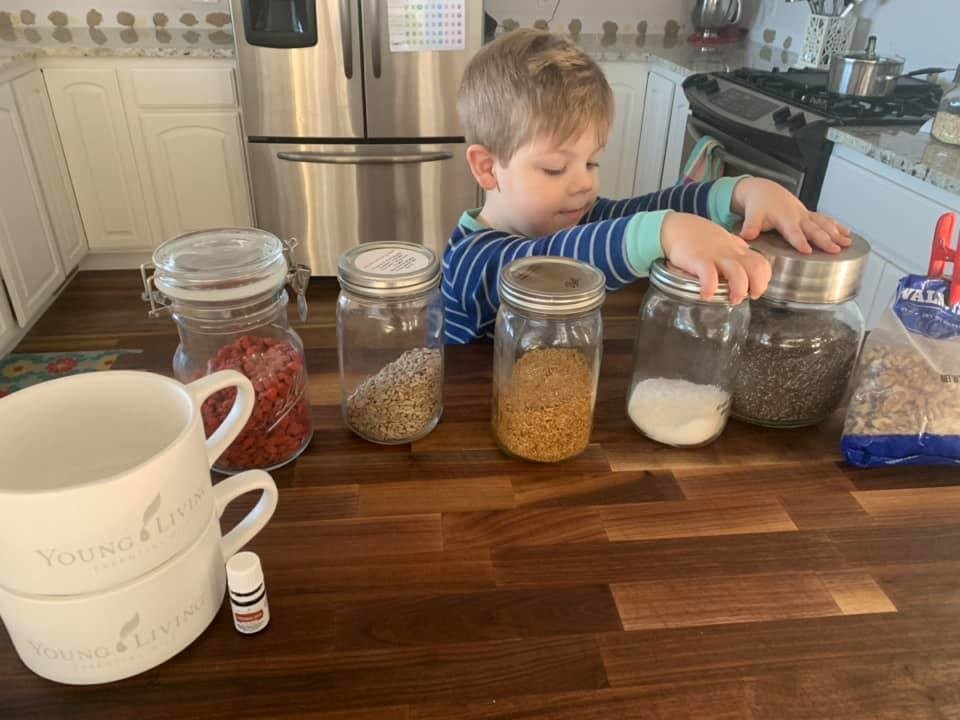
This summer millions of youth and adults are spending days - weeks at summer camp or just plain camping. Here the perspective of our very own youth before she heads off to summer camp. Which oils and natural products does she bring and why.
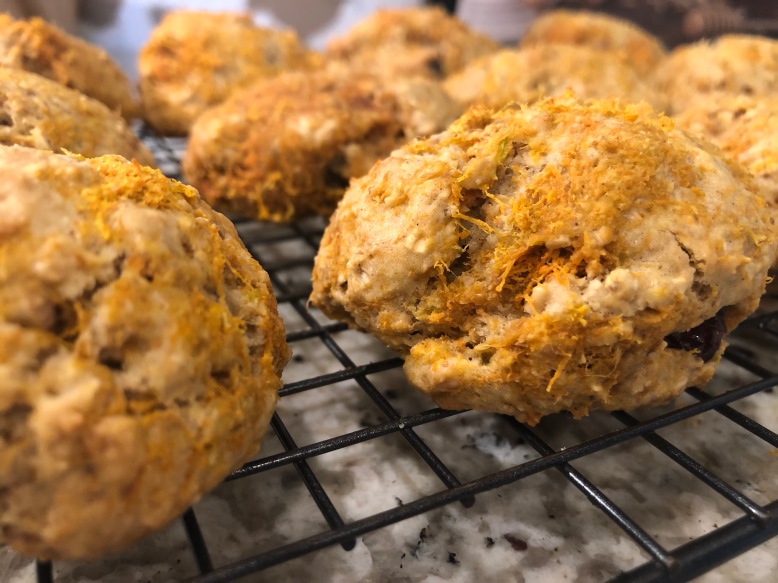
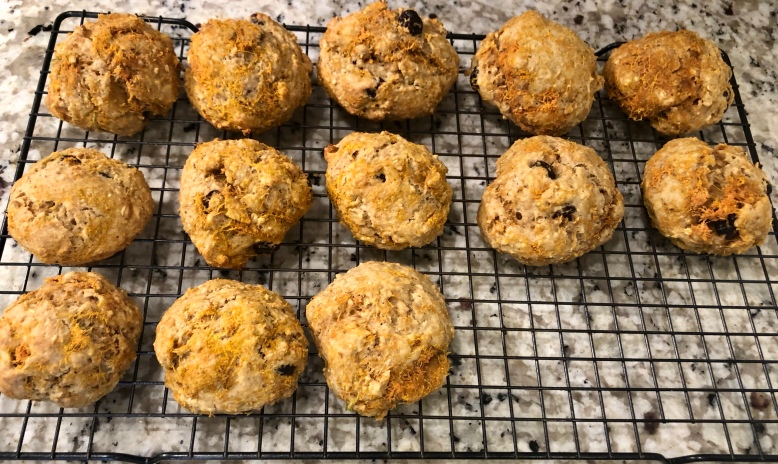
Carrot Cake Breakfast Cookies 


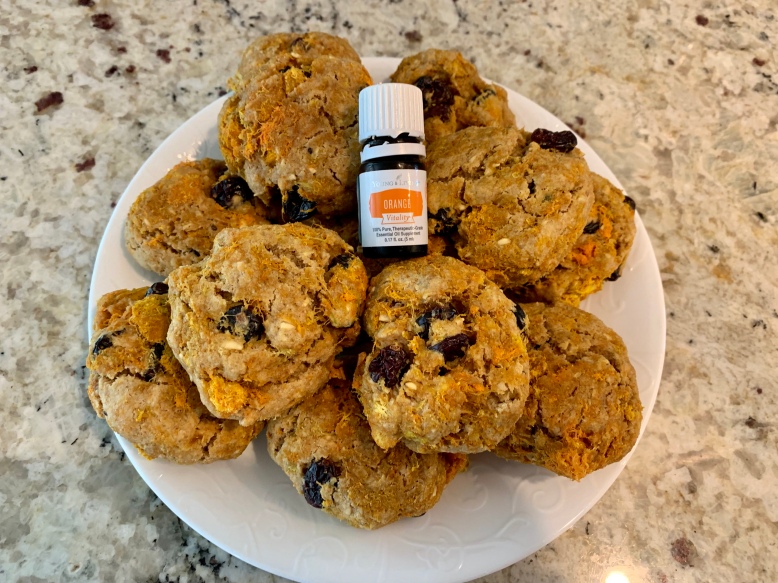
I’ve been juicing more often lately and I felt bad to throw away the pulp that was left over from it. Then I decided to experiment with making cookies from them. I call these “carrot cake” because the pulp I used was carrot, apple and ginger and that with YL’s orange oil and cinnamon reminded me so much of actual carrot cake but in a smaller version and a little bit more healthier. These cookies are warm, full of flavor, and packed full of protein and energy.
Makes: 20-25 cookies Prep time: 10-15 min Bake Time: 20 min Total time: 30-45 min
Dry ingredients:
- 2 cups einkorn flour ( we use Young Living’s or Jovial)
- 1 cup almond flour
- 1 tsp baking powder
- 1/2 tsp baking soda
- 1 tsp ground cinnamon
- pinch of nutmeg
- pinch of salt
- 1 cup oats ( steel cut or rolled)
- 1/2 cup ground flax seed ( you can simply just blend some flax seeds in your blender)
Wet ingredients:
- 3/4 cup maple syrup
- 1/3 cup oil ( I like to use avocado or coconut oil)
- 1 tsp vanilla extract
- 5 drops Young Living’s Orange Oil
- 4 eggs
Last-to-add-in ingredients:
- 1 cup dried cranberries
- 2 cups Juicing pulp ( carrot, apple, ginger. You could also grate some carrots, apple and ginger instead)
Directions:
- Preheat oven to 350°f and prep two cookie sheets with parchment paper
- In a large bowl, sift together einkorn and almond flour, baking powder and soda, cinnamon and nutmeg, and salt. Whisk in oats and ground flaxseed.
- In a separate medium bowl whisk together all the wet ingredients. Add wet to dry and mix until a soft dough forms.
- Add in pulp and cranberries
- Roll into small 11/2- 2 inch balls and press down lightly. Place them 1/2 inch apart from each other and bake for 20 min until lightly browned and firm to the touch.
- Let cool for 5-10 minutes. For the freshest taste store them in an airtight container and eat within a couple days. Enjoy!

LEMON BLUEBERRY MUFFINS (WITH EINKORN)
I tried this recipe for the first time the night before I had to bring them to a bake sale. I crossed my fingers and prayed that they would look and taste good. It ended up working perfectly and everyone loved them! I love baking with einkorn flour, because it has such a nice subtle taste, and it is so much better for you than modern wheat. The blueberries and lemon compliment each other so well, and the muffins are just the perfect sweetness.
Serves: 12- 16
Ingredients:
- 3 cups of einkorn flour, plus 1 teaspoon for dusting ( all-purpose or whole grain, and I used YL’s einkorn flour)
- 2 tsp baking powder
- 1/2 tsp baking soda
- 1/2 tsp of salt ( we use the Real Salt brand)
- 1 cup ( 200 g) coconut sugar
- 3/4 cup (185 g) plain yogurt
- 1/2 cup (125 g) whole milk or almond milk
- 10 tbs (140 g) unsalted butter, melted
- 3 large eggs ( or 4 1/2 tbs of ground flax seed + 1 cup of water, let sit for 5 minutes)
- 2 cups (240 g) fresh or frozen blueberries
- 3 drops of Young Living Lemon EO
Directions:
- Preheat oven to 425°F. Fill a muffin tin with 12 paper liners ( this recipe usually makes a couple more muffins, so add 2-4 extra paper liners in a second muffin tin just in case).
- In a large mixing bowl, sift together the 3 cups of flour, baking powder, baking soda, and salt. In a medium bowl, combine the yogurt, milk, lemon EO, and melted butter.
- In the bowl of a standing mixer fitted with the wire whip attachment, beat the eggs until they are a smooth yellow color ( if using flax eggs, just beat until a little frothy). Add the sugar and beat on medium-low speed for 1 minute, then on high a couple more minutes until the mixture forms thick ribbons.
- Fold the flour mixture gently into the egg, using a circular motion to completely incorporate it into the batter. Gently stir the yogurt mixture into the batter. ( Be sure to scrape the sides and bottom of the bowl as you go). Toss the blueberries with the remaining 1 teaspoon of flour, then fold them gently into the batter until the dry flour is completely absorbed. Spoon the batter evenly into the cups, filling nearly to the rim of the cup.
- Place the muffins in the oven, then reduce the oven temperature to 375°F. Bake for 25-30 minutes until a toothpick comes away clean when inserted into the center of the muffins. Let cool in pan for 15 minutes, then remove from the pan and cool completely. The muffins can be stored in an airtight container for up to 3 days.

Yes, one is almost eaten all the way. That’s how good they are- that I couldn’t get a picture without them being eaten as I took it! 
Check out more of Hopes recipes at hopeleilani.com